The Tajima embroidery machine is a high-quality, versatile and user-friendly machine that is ideal for both commercial and personal use. With its advanced features and capabilities, it has become a popular choice among embroidery enthusiasts and professionals alike. In this article, we will take a closer look at the key features and benefits of the Tajima embroidery machine and provide you with a step-by-step guide on how to operate it effectively.
What is a Tajima Embroidery Machine?
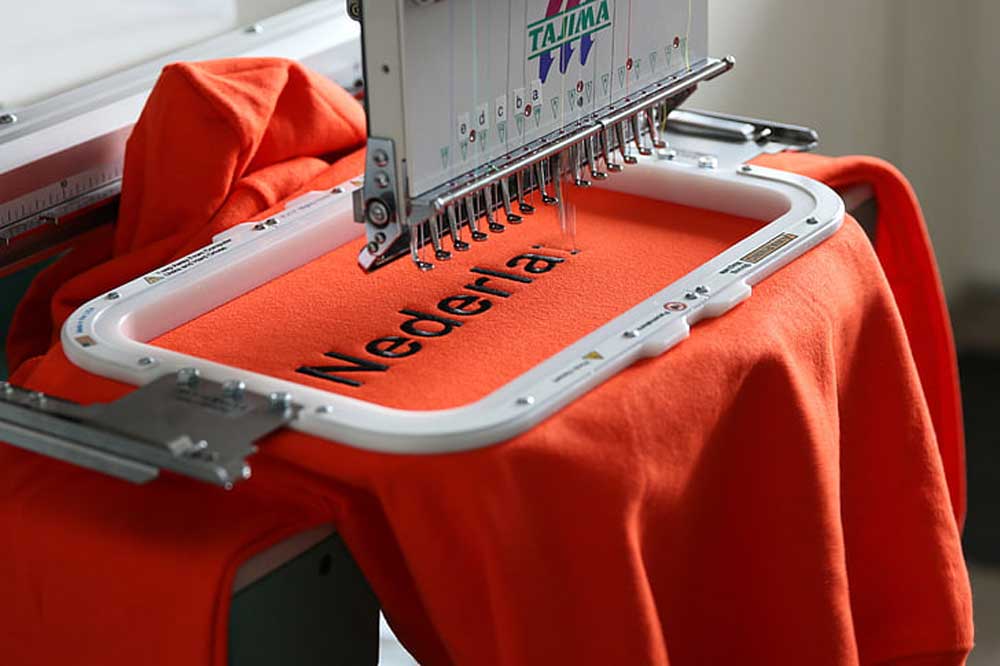
The Tajima embroidery machine is a computer-controlled device that is used to produce intricate and precise designs on fabric using thread. The machine is equipped with a number of advanced features, including a color LCD screen, a USB port for loading designs, and a wide range of stitch types and adjustments to suit different embroidery needs.
Key Features of the Tajima Embroidery Machine
- Advanced color LCD screen for easy operation and design preview
- USB port for loading designs and updating software
- A wide range of stitch types, including satin, chain, and fill stitches
- Adjustable stitch length and width for customizing designs
- Capability to embroider multiple colors in a single design
- High-speed embroidery capability for increased productivity
Benefits of Using the Tajima Embroidery Machine
The Tajima embroidery machine offers a range of benefits that make it a popular choice among embroidery enthusiasts and professionals. Some of the key benefits include:
- Ease of use: The machine is user-friendly and easy to operate, making it ideal for both novice and experienced users.
- Precision: The Tajima machine is equipped with advanced technology that allows for precise and intricate designs to be created with ease.
- Versatility: The machine is capable of producing a wide range of stitch types and designs, making it suitable for a variety of applications.
- Increased productivity: The high-speed capability of the machine allows for increased productivity, making it ideal for commercial use.
Setting Up the Tajima Embroidery Machine: A Step-by-Step Guide
Setting up the Tajima embroidery machine is a straightforward process that can be completed in just a few steps. The following is a step-by-step guide to help you get started:
- Prepare the machine for use by turning it on and ensuring that it is properly plugged in.
- Mount the embroidery hoop by following the instructions provided in the manual.
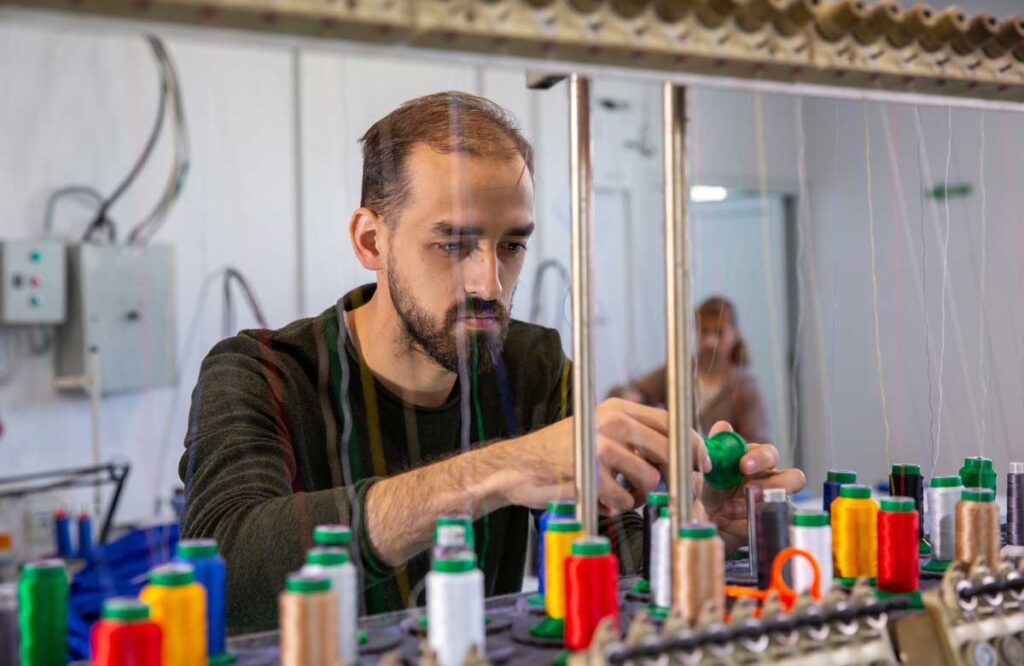
- Thread the machine by following the instructions in the manual and ensuring that the thread is properly tensioned.
- Load the design into the machine by transferring it to the machine via USB or memory card.
- Choose the right stitch type and adjust the stitch length and width as needed.
- Start embroidering by pressing the start button and following the instructions on the screen.
Understanding the Tajima Embroidery Machine Controls
The Tajima embroidery machine is a sophisticated piece of equipment that requires a good understanding of its controls to operate effectively. In this section, we will explore the various controls on the Tajima embroidery machine and help you understand how to use them to produce high-quality designs.
The Control Panel
The control panel of a Tajima embroidery machine is where all the buttons and knobs are located that are used to operate the machine. The control panel typically consists of a power switch, display screen, buttons for starting and stopping the machine, and various knobs for adjusting the needle speed, stitch length, and more. It’s important to familiarize yourself with the control panel so that you can easily operate the machine when you need to.
Commonly Used Buttons and Knobs
There are a number of buttons and knobs on the control panel of a Tajima embroidery machine that are commonly used. Here are some of the most important ones:
- Power Switch – used to turn the machine on and off.
- Start/Stop button – used to start and stop the embroidery process.
- Speed Control Knob – used to adjust the needle speed.
- Stitch Length Knob – used to adjust the stitch length.
- Pattern Selection button – used to select the desired embroidery pattern.
Understanding the Display Screen
The display screen of a Tajima embroidery machine provides important information about the machine’s operation, such as the current stitch count, the selected pattern, and any error messages. It’s important to understand how to read the display screen so that you can keep track of your progress and make any necessary adjustments. Some of the most common symbols and messages that you may see on the display screen include:
- Stitch Count – displays the number of stitches that have been completed.
- Pattern Selection – displays the selected embroidery pattern.
- Error Messages – displays any error messages, such as a thread break or a needle error.
Loading Designs into the Tajima Embroidery Machine
One of the most important tasks in operating a Tajima embroidery machine is loading designs into the machine. This can be done using a USB or memory card, or by transferring the design directly from your computer. In this section, we will explore the different methods of loading designs into the Tajima embroidery machine, and provide tips for choosing the right design file format and editing designs on the machine.
Transferring Designs via USB or Memory Card
One of the most convenient ways to transfer designs to the Tajima embroidery machine is using a USB or memory card. This allows you to store your designs on a separate device and easily transfer them to the machine when you’re ready to use them. To transfer designs via USB or memory card, simply connect the device to the machine and select the desired design file.
Choosing the Right Design File Format
When it comes to loading designs into your Tajima embroidery machine, it’s important to choose the right design file format. The most commonly used design file formats for Tajima machines are DST, PES, and JEF. Be sure to choose the correct file format that is compatible with your machine to avoid any errors during the transfer process.
Editing and Previewing Designs on the Tajima Machine
Once your design has been transferred to the Tajima embroidery machine, you may need to make some adjustments or edits to the design. The Tajima machine comes equipped with a built-in design editor, which allows you to preview and edit your designs on the machine. This can be a useful tool for making changes to your design, such as adjusting the stitch length or changing the thread color, before you begin the embroidery process.
Loading designs into your Tajima embroidery machine is a crucial step in the embroidery process. By transferring your designs via USB or memory card, choosing the right design file format, and editing and previewing your designs on the machine, you’ll be able to produce high-quality embroidery work. With a good understanding of how to load designs into your Tajima embroidery machine, you’ll be able to bring your creative ideas to life with ease.

Adjusting Stitch Settings on the Tajima Embroidery Machine
The quality of your embroidery work largely depends on the stitch settings of your Tajima embroidery machine. In order to produce high-quality, professional-looking embroidery, it’s important to know how to adjust the stitch settings on your machine. In this section, we will explore the key stitch settings that you need to adjust in order to achieve the best results.
Selecting the Right Stitch Type
The Tajima embroidery machine offers several different stitch types to choose from, including run stitch, satin stitch, and fill stitch. The type of stitch you choose will depend on the design you’re working on and the effect you want to achieve. To select the right stitch type, simply go to the machine’s control panel and select the desired stitch type from the available options.
Adjusting Stitch Length and Width
The stitch length and width are two of the most important stitch settings on the Tajima embroidery machine. The stitch length determines the length of each stitch and the overall look of the embroidery design, while the stitch width determines the width of the stitch. To adjust the stitch length and width, go to the machine’s control panel and use the dials or buttons to adjust the settings as desired.
Setting the Correct Color Sequence
When working with multi-color designs, it’s important to set the correct color sequence on the Tajima embroidery machine. The color sequence determines the order in which the different colors will be stitched, and it’s important to get it right in order to achieve the desired effect. To set the color sequence, go to the machine’s control panel and select the desired color sequence from the available options.
Maintenance and Cleaning the Tajima Embroidery Machine
Maintaining and cleaning your Tajima embroidery machine is essential for ensuring its longevity and optimal performance. Regular maintenance and cleaning will help to prevent costly repairs, extend the life of the machine, and ensure that you’re able to produce high-quality embroidery every time you use it. In this section, we’ll explore the key maintenance and cleaning tasks that you should perform on your Tajima machine.
Daily Maintenance Routine
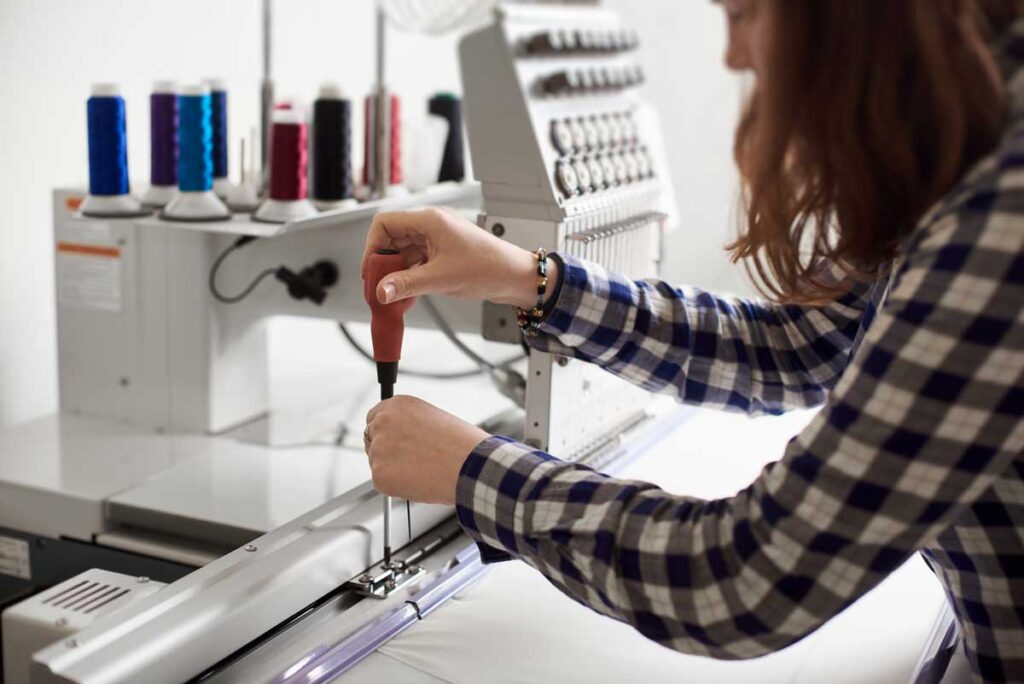
A daily maintenance routine is important for keeping your Tajima embroidery machine in good working order. This routine should include simple tasks such as wiping down the machine, checking for loose or damaged parts, and making sure that the machine is properly lubricated. By performing a quick daily check of your machine, you’ll be able to spot any potential problems early on and prevent more serious issues from developing.
Cleaning the Machine and its Components
Regular cleaning is also an important part of maintaining your Tajima embroidery machine. This includes wiping down the machine’s exterior, cleaning the bobbin case and hook, and removing any lint or thread that has accumulated in the machine. To keep your machine running smoothly, it’s recommended that you clean it after every use, or at least once a week.
Lubricating the Tajima Embroidery Machine
Lubricating the moving parts of your Tajima embroidery machine is important for reducing friction and wear, and extending the life of the machine. To lubricate the machine, use a high-quality machine oil and apply it to the machine’s moving parts, including the hook, hook race, and feed dogs. It’s recommended that you lubricate your machine once a month, or more frequently if you use the machine frequently.
Tips for Operating the Tajima Embroidery Machine Efficiently
When operating a Tajima embroidery machine, there are several tips and tricks that you can use to improve efficiency and produce high-quality embroidery. In this section, we’ll explore two key areas – choosing the right fabric and stabilizer, and understanding the effect of hoop size on embroidery quality.
Choosing the Right Fabric and Stabilizer
Choosing the right fabric and stabilizer is essential for producing high-quality embroidery on your Tajima machine. The fabric you use will affect the overall look and feel of your embroidery, while the stabilizer will help to keep the fabric in place as you embroider. When selecting fabric, it’s important to consider factors such as weight, texture, and stretch. When choosing a stabilizer, consider the type of fabric you’re working with, as well as the design you’re embroidering.
Understanding the Effect of Hoop Size on Embroidery Quality
The size of the hoop you use can also have a significant impact on the quality of your embroidery. A larger hoop will give you more room to work with, making it easier to maneuver your fabric as you embroider. However, larger hoops can also be more difficult to manage and control. When choosing a hoop size, consider the size of your design, as well as the type of fabric you’re using.
Where to buy a Tajima embroidery machine
If you’re looking to buy a Tajima embroidery machine, you can find a wide range of options on the official Tajima website. From basic models designed for home use to advanced commercial-grade machines, there is a Tajima machine to suit your needs. On the website, you can compare different models, read detailed product descriptions, and view photos and videos to help you make an informed decision. With so many options available, you’re sure to find the perfect Tajima embroidery machine for your needs.
Conclusion
In conclusion, operating a Tajima embroidery machine requires a good understanding of its controls, the design loading process, and stitch settings. By learning how to load designs, adjust stitch settings, and perform regular maintenance and cleaning, you’ll be able to get the most out of your Tajima embroidery machine.
Additionally, by following tips such as choosing the right fabric and stabilizer, and understanding the effect of hoop size on embroidery quality, you’ll be able to produce high-quality embroidery that meets your exact needs and specifications. Whether you’re an experienced embroidery professional or just starting out, these tips will help you get the most out of your Tajima embroidery machine and produce stunning, professional-quality embroidery every time you use it.
In addition to the comprehensive guide on the Tajima embroidery machine, our website also features articles on other popular brands in the industry. For instance, we have a review and guide on the Barudan embroidery machine, providing you with information on its features, quality and performance, helping you make an informed decision on your next embroidery machine purchase.
We also offer a helpful guide on how to use Brother and Babylock embroidery machines. Both of these brands are known for their user-friendly machines, and our guide makes it easy for you to get started on your next embroidery project, regardless of your skill level. Whether you’re looking to expand your embroidery knowledge or simply need a refresher, these articles offer valuable information to help you achieve your goals.