Embroidery is a fun and creative hobby that allows you to add your personal touch to clothing, linens, and other items. However, for a successful embroidery project, it’s essential to have a properly threaded needle. If the needle isn’t threaded correctly, it can cause tangling, knotting, and fraying of the floss or thread, resulting in uneven stitching and a poorly made project.
In this article, we will go over the steps and tips for how to thread an embroidery needle, so that you can get started on your next embroidery project with confidence. Whether you’re a beginner or an experienced embroiderer, you’ll find useful information and advice in this guide.
I. Introduction
A brief overview of the importance of threading an embroidery needle correctly
Threading an embroidery needle correctly is crucial for achieving successful embroidery. A well-threaded needle makes it easier to stitch intricate designs and guarantees that the embroidery will look neat and uniform.
Benefits of having a properly threaded needle
Having a properly threaded needle offers numerous advantages. It increases your efficiency, ensures that your stitches are consistent in size and spacing, and minimizes the risk of the thread tangling or knotting. Taking the time to properly thread your needle can make your embroidery experience more enjoyable and produce better results.
In this article, we will provide you with step-by-step instructions for threading an embroidery needle and offer tips for making the process easier. By the end of this guide, you will have all the knowledge you need to confidently thread your needle for any embroidery project.
II. What You Will Need
Before you start threading your embroidery needle, make sure you have all the necessary materials.
List of necessary materials
- Embroidery needle
- Embroidery floss or thread
- Scissors

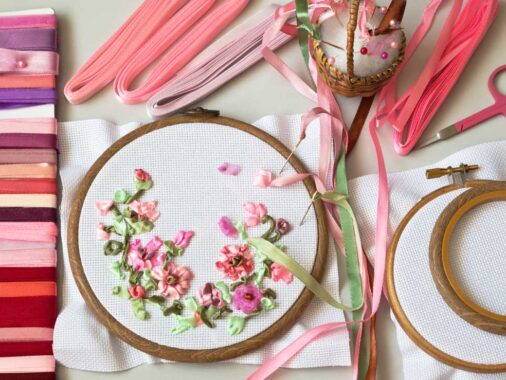
Recommendations for types of embroidery floss or thread
When selecting embroidery floss or thread, consider the type of project you will be working on and the desired final look of your embroidery. There are many different types of floss and thread available, including cotton, silk, and metallic, so choose the one that best suits your needs. It is recommended to use high-quality thread or floss, as this will help to prevent knotting and tangling while you stitch.
Having the right materials on hand is key to having a successful embroidery experience. With a properly threaded needle and the right floss or thread, you’ll be ready to tackle any embroidery project with confidence.
III. Preparing the Embroidery Floss or Thread
Before you can thread your needle, you need to prepare the embroidery floss or thread.
Cutting the floss or thread to the desired length
The first step in preparing your embroidery floss or thread is to cut it to the desired length. A general rule of thumb is to cut your floss or thread to a length of about 18 inches. This will give you enough thread to complete several stitches without having to stop and rethread your needle.
Separating the individual strands of floss
If you are using embroidery floss, you’ll need to separate the individual strands. Embroidery floss typically comes in six-strand skeins. For most embroidery projects, you’ll only need to use two or three of the strands. To separate the strands, gently pull them apart from the center of the skein.
Tips for knotting the end of the floss to prevent fraying
Once you have cut and separated your floss or thread, it’s important to knot the end to prevent fraying. To do this, simply tie a small knot in the end of the floss or thread. This will keep the fibers from unraveling and allow you to stitch with confidence.
By preparing your embroidery floss or thread correctly, you’ll be one step closer to threading your needle and starting your embroidery project.
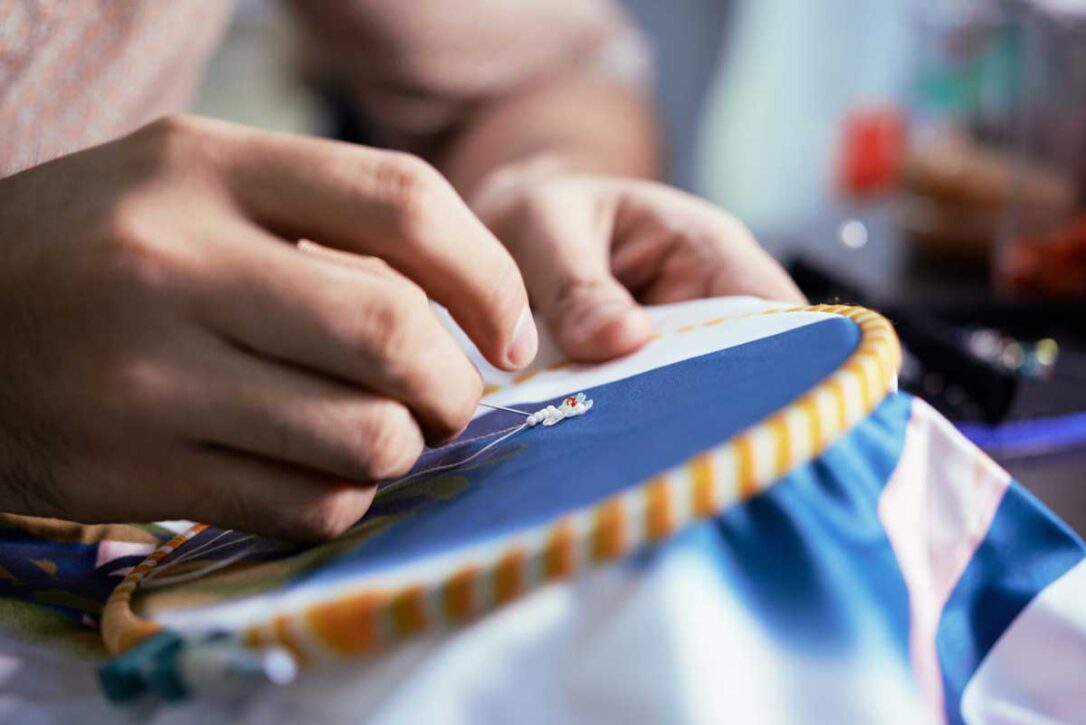
IV. Threading the Needle
Now that you have prepared your embroidery floss or thread, it’s time to thread the needle.
Step-by-step instructions for threading the needle
- Cut your floss or thread to the desired length and knot the end to prevent fraying.
- Hold the needle with one hand and the floss or thread with the other.
- Insert the end of the floss or thread into the eye of the needle.
- Pull the floss or thread through the eye of the needle, leaving a small tail.
- Hold the needle and the floss or thread together, with the knot at the end of the floss or thread.
- Pull the floss or thread gently to tighten the knot at the end of the floss or thread.
Tips for making the process easier
- Use a needle threader to make threading the needle easier, especially if you have difficulty seeing the eye of the needle or if you are using a needle with a small eye.
- Wet the end of the floss or thread before threading the needle to make the fibers easier to manipulate.
- If you’re having trouble getting the floss or thread through the eye of the needle, try twisting the floss or thread slightly before inserting it into the eye of the needle.
Recommended techniques for threading the needle with different types of floss or thread
- For cotton floss, use the above step-by-step instructions for threading the needle.
- For silk floss, use the same instructions but be gentle with the floss as it can be more delicate and prone to tangling.
- For metallic thread, use a thicker needle with a larger eye to make threading the needle easier. It is also recommended to use a needle threader when threading a needle with metallic thread.
With these tips and step-by-step instructions, threading an embroidery needle should be a breeze. You’ll be ready to start your embroidery project in no time!

V. Conclusion
In conclusion, having a properly threaded needle is crucial for successful embroidery. Not only does it make the stitching process smoother and more efficient, but it also helps ensure that your embroidery project turns out the way you envisioned it.
Summary of the importance of having a properly threaded needle
A properly threaded needle not only makes the stitching process easier, but it also helps prevent tangling, knotting, and fraying of the floss or thread. This allows for consistent and neat stitching, resulting in a well-made embroidery project.
Final thoughts and recommendations for successful embroidery
In addition to properly threading the needle, it is also important to choose the right type of floss or thread for your project, and to cut it to the desired length before starting. A comfortable and ergonomic grip on the needle, as well as proper lighting, can also make the stitching process easier and more enjoyable.
By following these tips and instructions, you’ll be able to thread an embroidery needle with ease and confidence. Happy stitching!
Addition
In addition to learning how to thread an embroidery needle, it’s also important to have a good understanding of different embroidery stitches. If you’re new to embroidery, we have a beginner’s guide that covers the basics of chain stitch embroidery. This type of stitch is a great place to start and is used in many different embroidery projects. By mastering this stitch, you’ll be well on your way to creating beautiful and intricate embroideries.
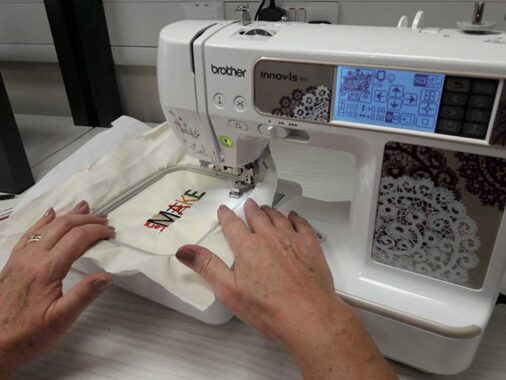
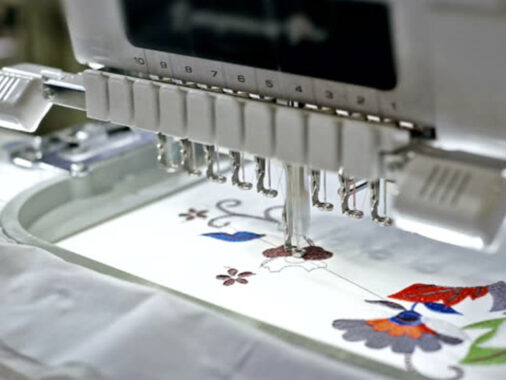
For those who are interested in using a machine for their embroidery projects, we have an article that provides a comprehensive guide on how to operate a Tajima embroidery machine. This article covers everything from setting up the machine to creating your first embroidery design. If you’re considering purchasing an embroidery machine, we also have a review and guide for the Barudan embroidery machine. This article provides an in-depth look at the features and capabilities of this popular machine, helping you make an informed decision on which machine is right for you.